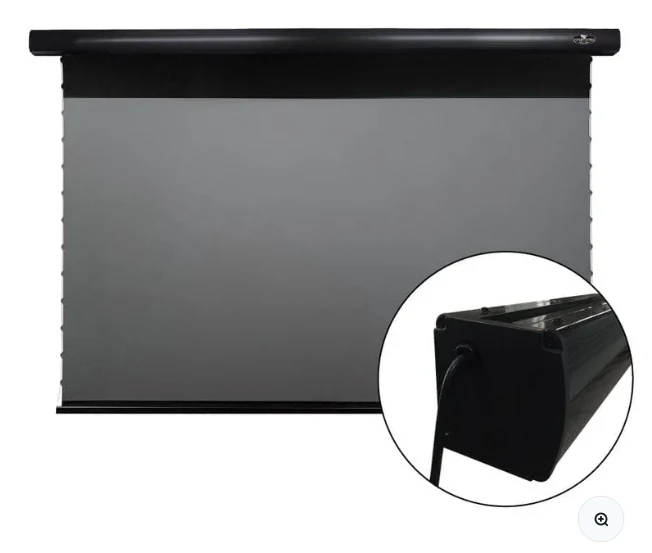
1. Confirm the mounting structure
The cassette spans a large distance and carries a motor, roller and screen. Mounting hardware must suit the wall or ceiling construction. Do not assume the fasteners packed with any product are appropriate for every substrate.
2. Map the deployed image
Mark the intended image width, bottom edge and centerline on the wall. Then add the screen’s black drop and cassette dimensions. Verify doors, windows, speakers and furniture will not interfere when the surface is deployed.
3. Plan power and control
Decide where the power cable exits, where the outlet will be, and whether you intend to use a trigger, app, RF remote or voice control. VIVIDSTORM listings show left/right power-location options and trigger support, but confirm the exact regional configuration before drilling.
4. Level the screen before projector alignment
A UST projector can make a small tilt look like a large trapezoid. Get the cassette level, deploy the screen fully and let the material settle. Position the projector physically to the screen edges before applying digital geometry correction.
5. Test the full travel
Run the screen through complete deploy and retract cycles while watching clearances. Confirm the lower stop position, side tension and power behavior. Keep fingers, cables and furniture away from the moving path.
Check the live VIVIDSTORM PRO listing
Confirm current size options, stock, regional pricing and included controls before planning the final mount.
See current VIVIDSTORM PRO offer ↗